F10T

Aluminum Axle Housing

Social media handles for Crawler Addiction, including Facebook and Instagram usernames.
Diagram of automotive parts including steering skid, back plate, oil cooler, hydro steering cylinder, cylinder clamp, various bolts, and brackets, with a parts list.
Icon of a hammer and wrench crossing each other, with the text 'Tools Needed' underneath.

M2 Hex Driver

Logo with a black silhouette ship icon and the words 'Supplied Parts'

Skid

Silver and Black Cylinder

Oil Cooler

Silver and Black Clamps (Clamps are compatible with the H10 stock clamps or equivalent)

All Mounting hardware

Framed text that says 'Add'l Required Parts' with a dot pattern above.

*M4x20mm stud – Qty. 2

M3x25mm screw (retained from the passenger side of the axle)

M3x30mm screw

*Incision H10 Hydro Ram Steering Set - SKU: IRC00192

*2 add’l Vanquish rod ends - SKU: IRC00010 (or equivalent)

*Only required if you purchased the Partial Assembly kit version

Small mechanical system with a black textured housing, metal screws, two cylindrical parts with red and black markings, and a metal clip, placed on a white surface.

Partial Assembly Kit

1-   Place Skid and back plate on the axle.

(this can be done with the Vanquish BTA mount already installed, however, getting the servo installed later will be difficult unless it is a full size servo)

Close-up of a white bicycle handlebar with a black attachment pad, showing a person’s finger holding it.
Close-up of a small engine or mechanical component with silver and black parts, including a cylinder and screws.
Close-up of a small mechanical engine assembly held by hand, with visible screws, a metallic component with fins, and a white plastic part.

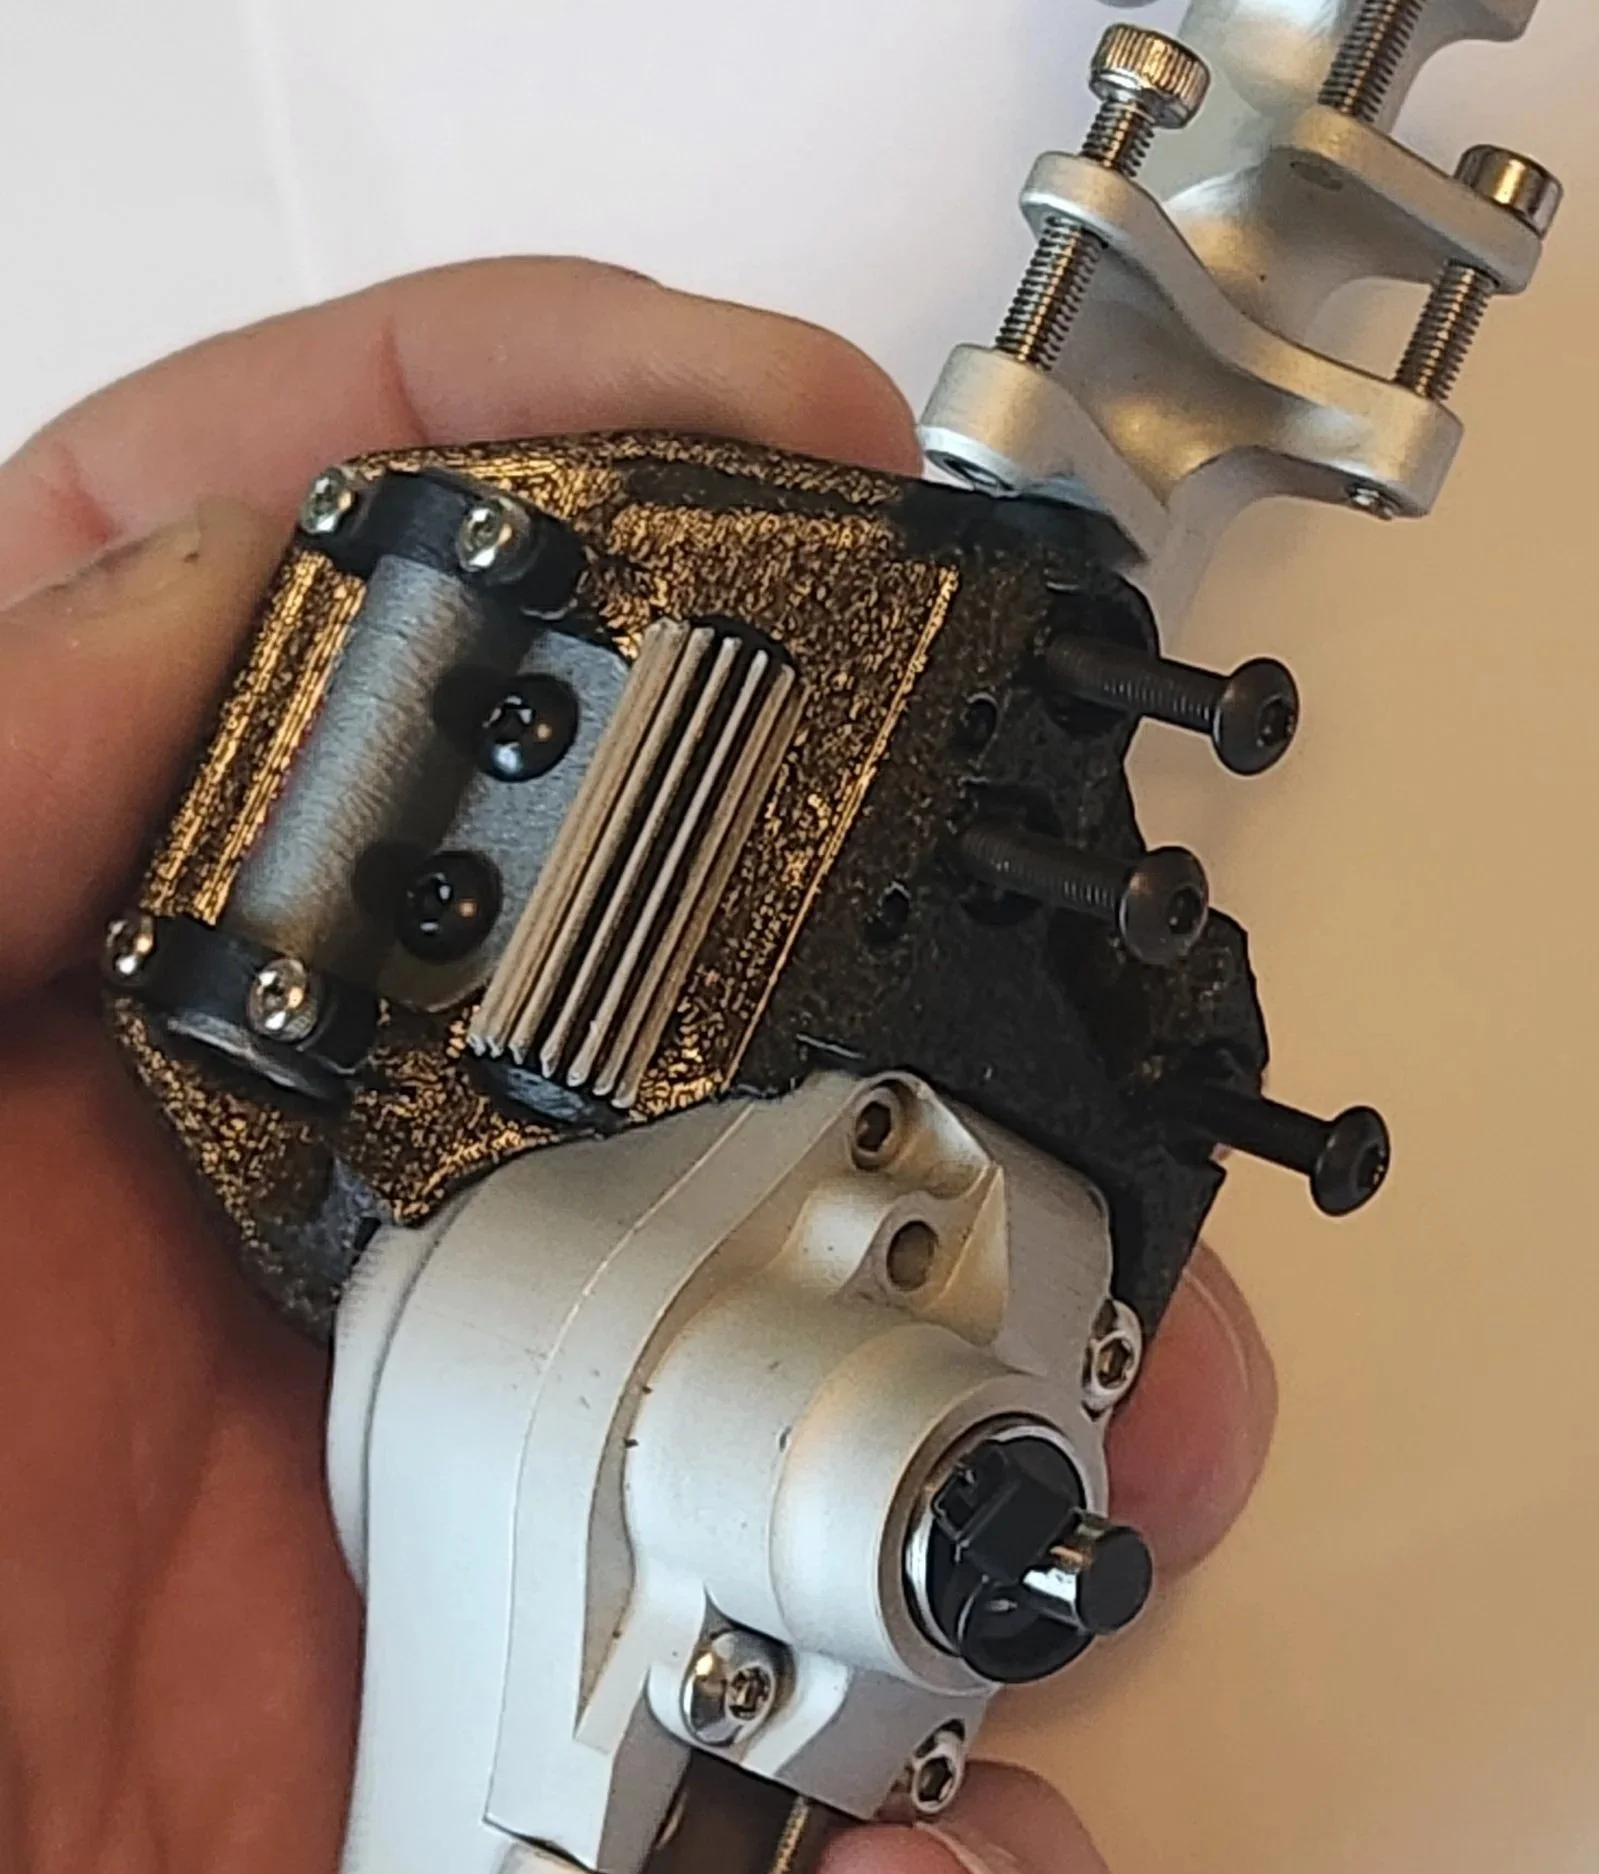
2-   Place the two M3x20mm hardware in the upper mounting on the back plate and the one M3x12mm in the lower location. Use M2 hex driver to tighten the bolts. Run the top two about 80% then snug the bottom one. Go back and snug to top two. It will snug up. Do not over tighten!

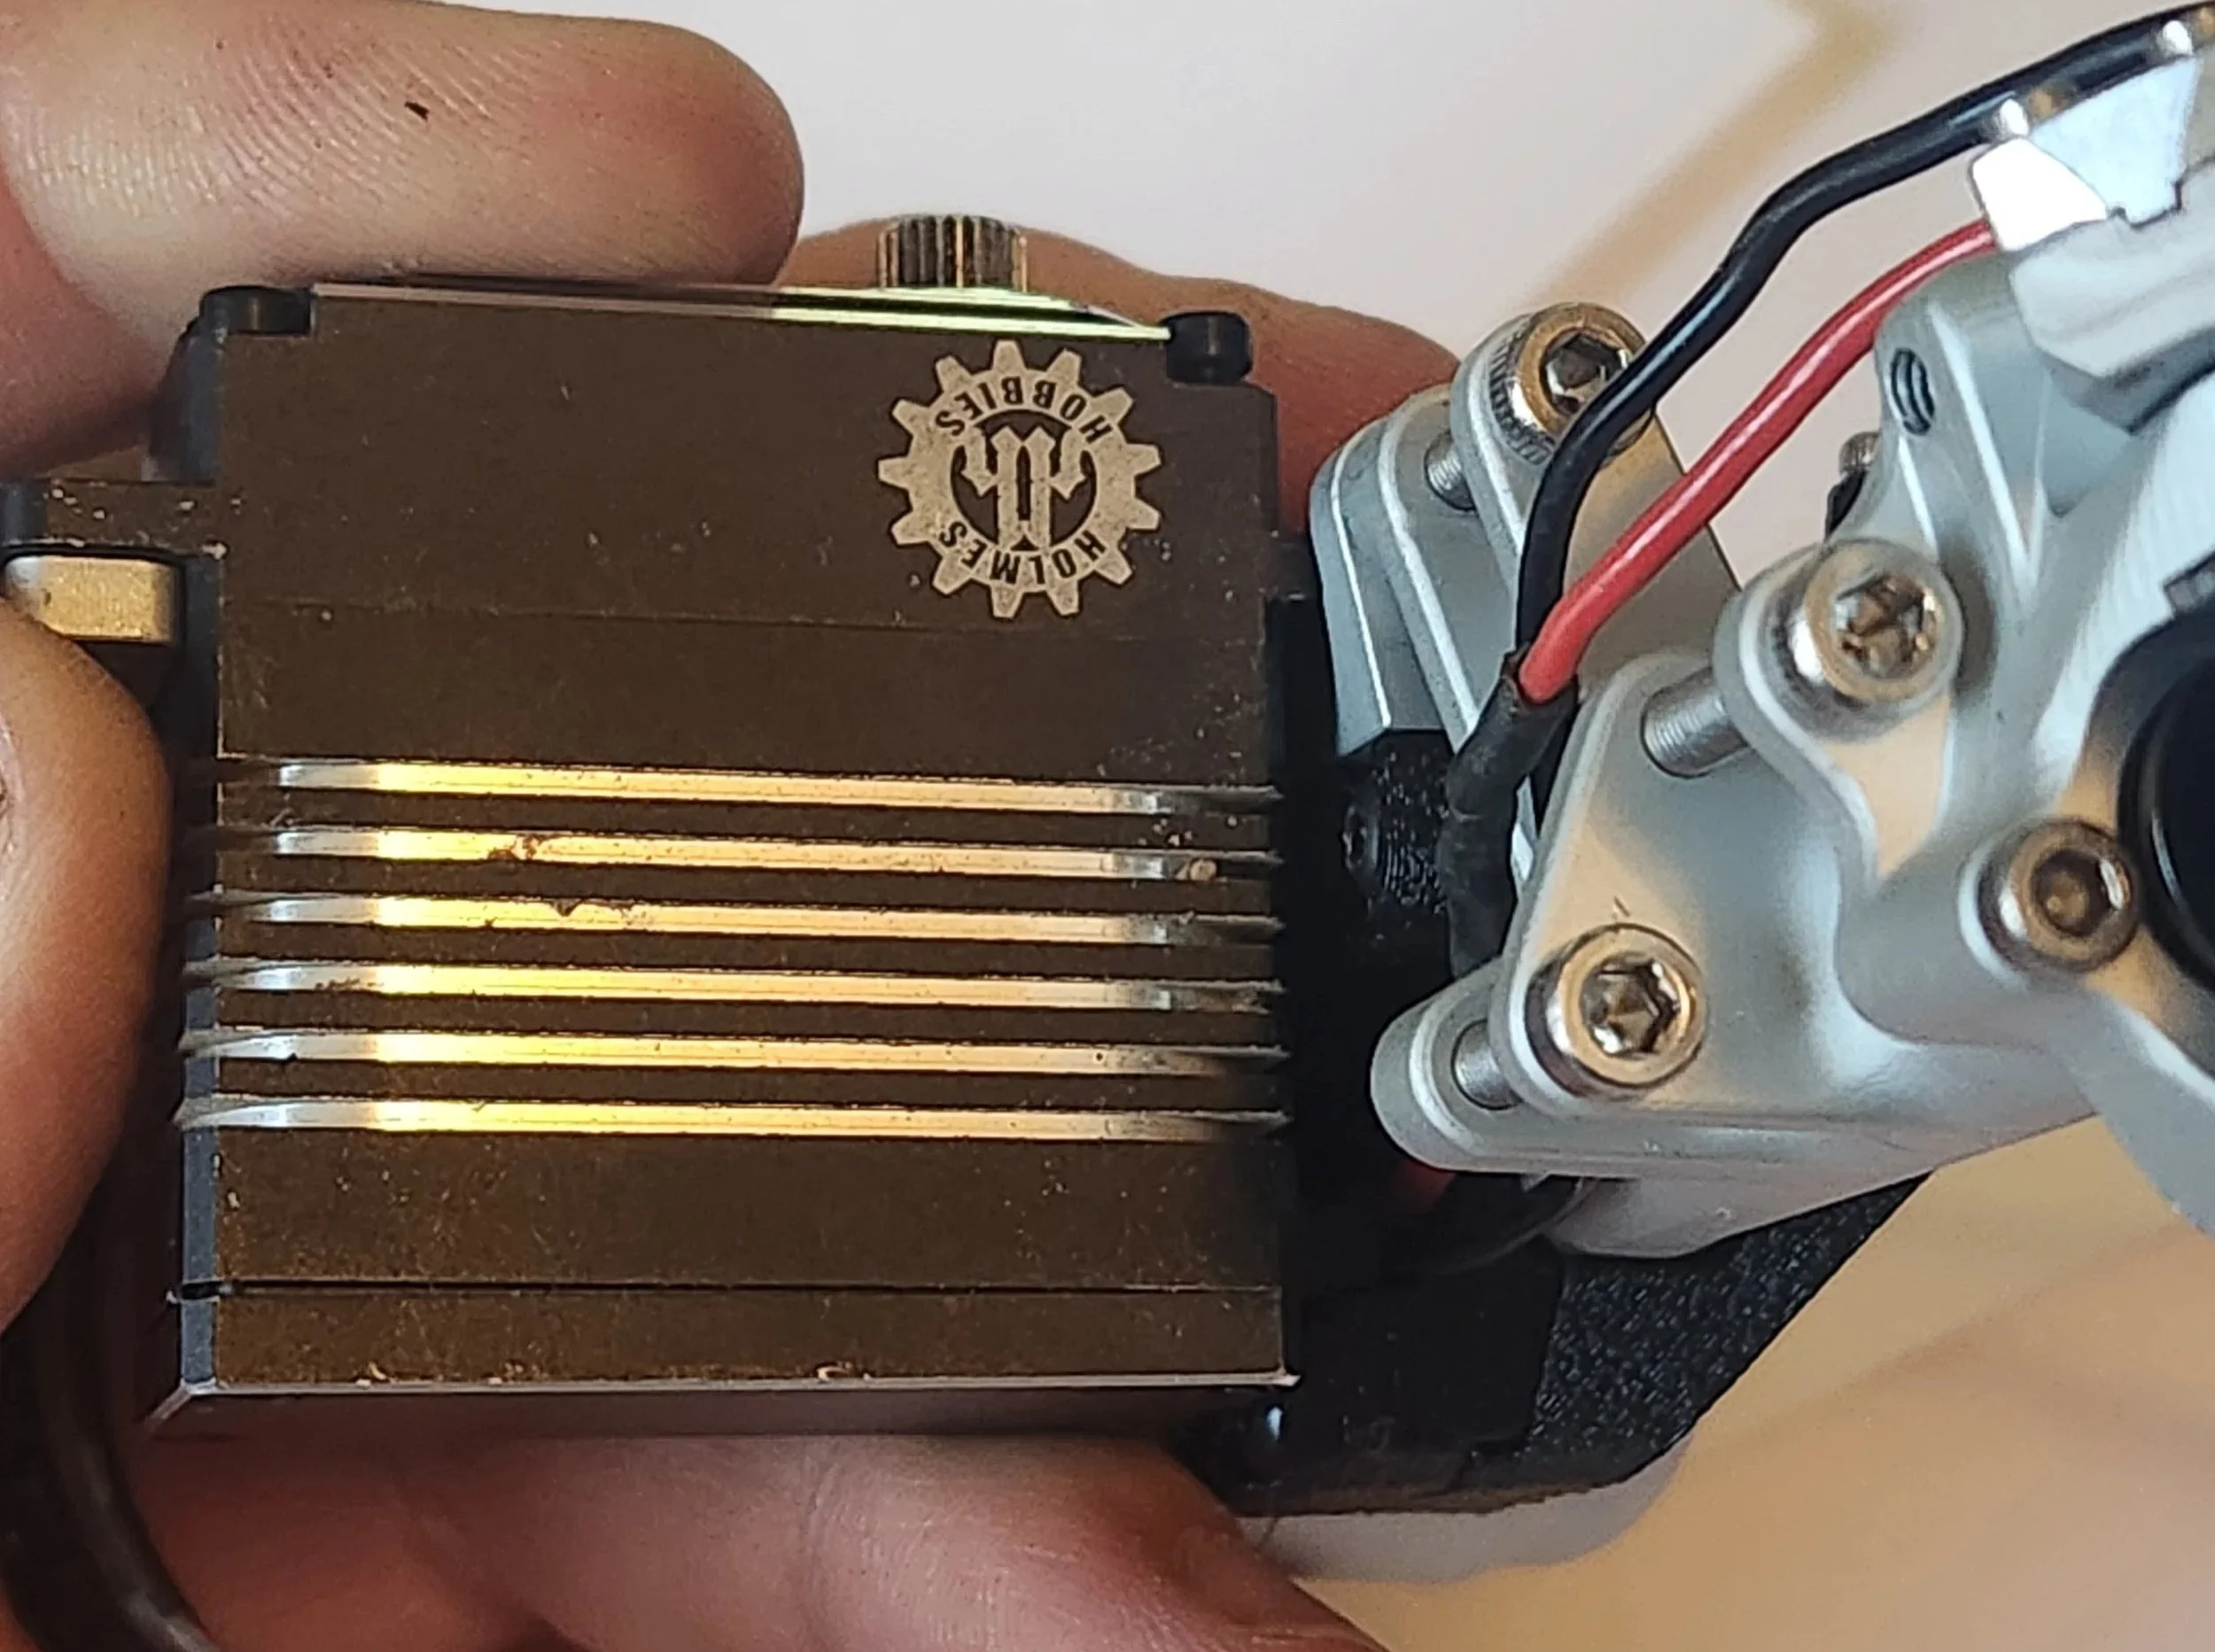
3-   Install the servo onto the BTA mount. The two screw that are used that go into the rear plate can be a maximum size of 12mm in length. for the front bolts don’t thread past the bottom of the BTA until installed on the axle. (pictured is M3x12mm SBHCS)

A Low Profile or standard should provide clearance for the cable to go out the side.

Close-up of a radio-controlled helicopter's motor and gear assembly with wires connected, held by a person's hand.

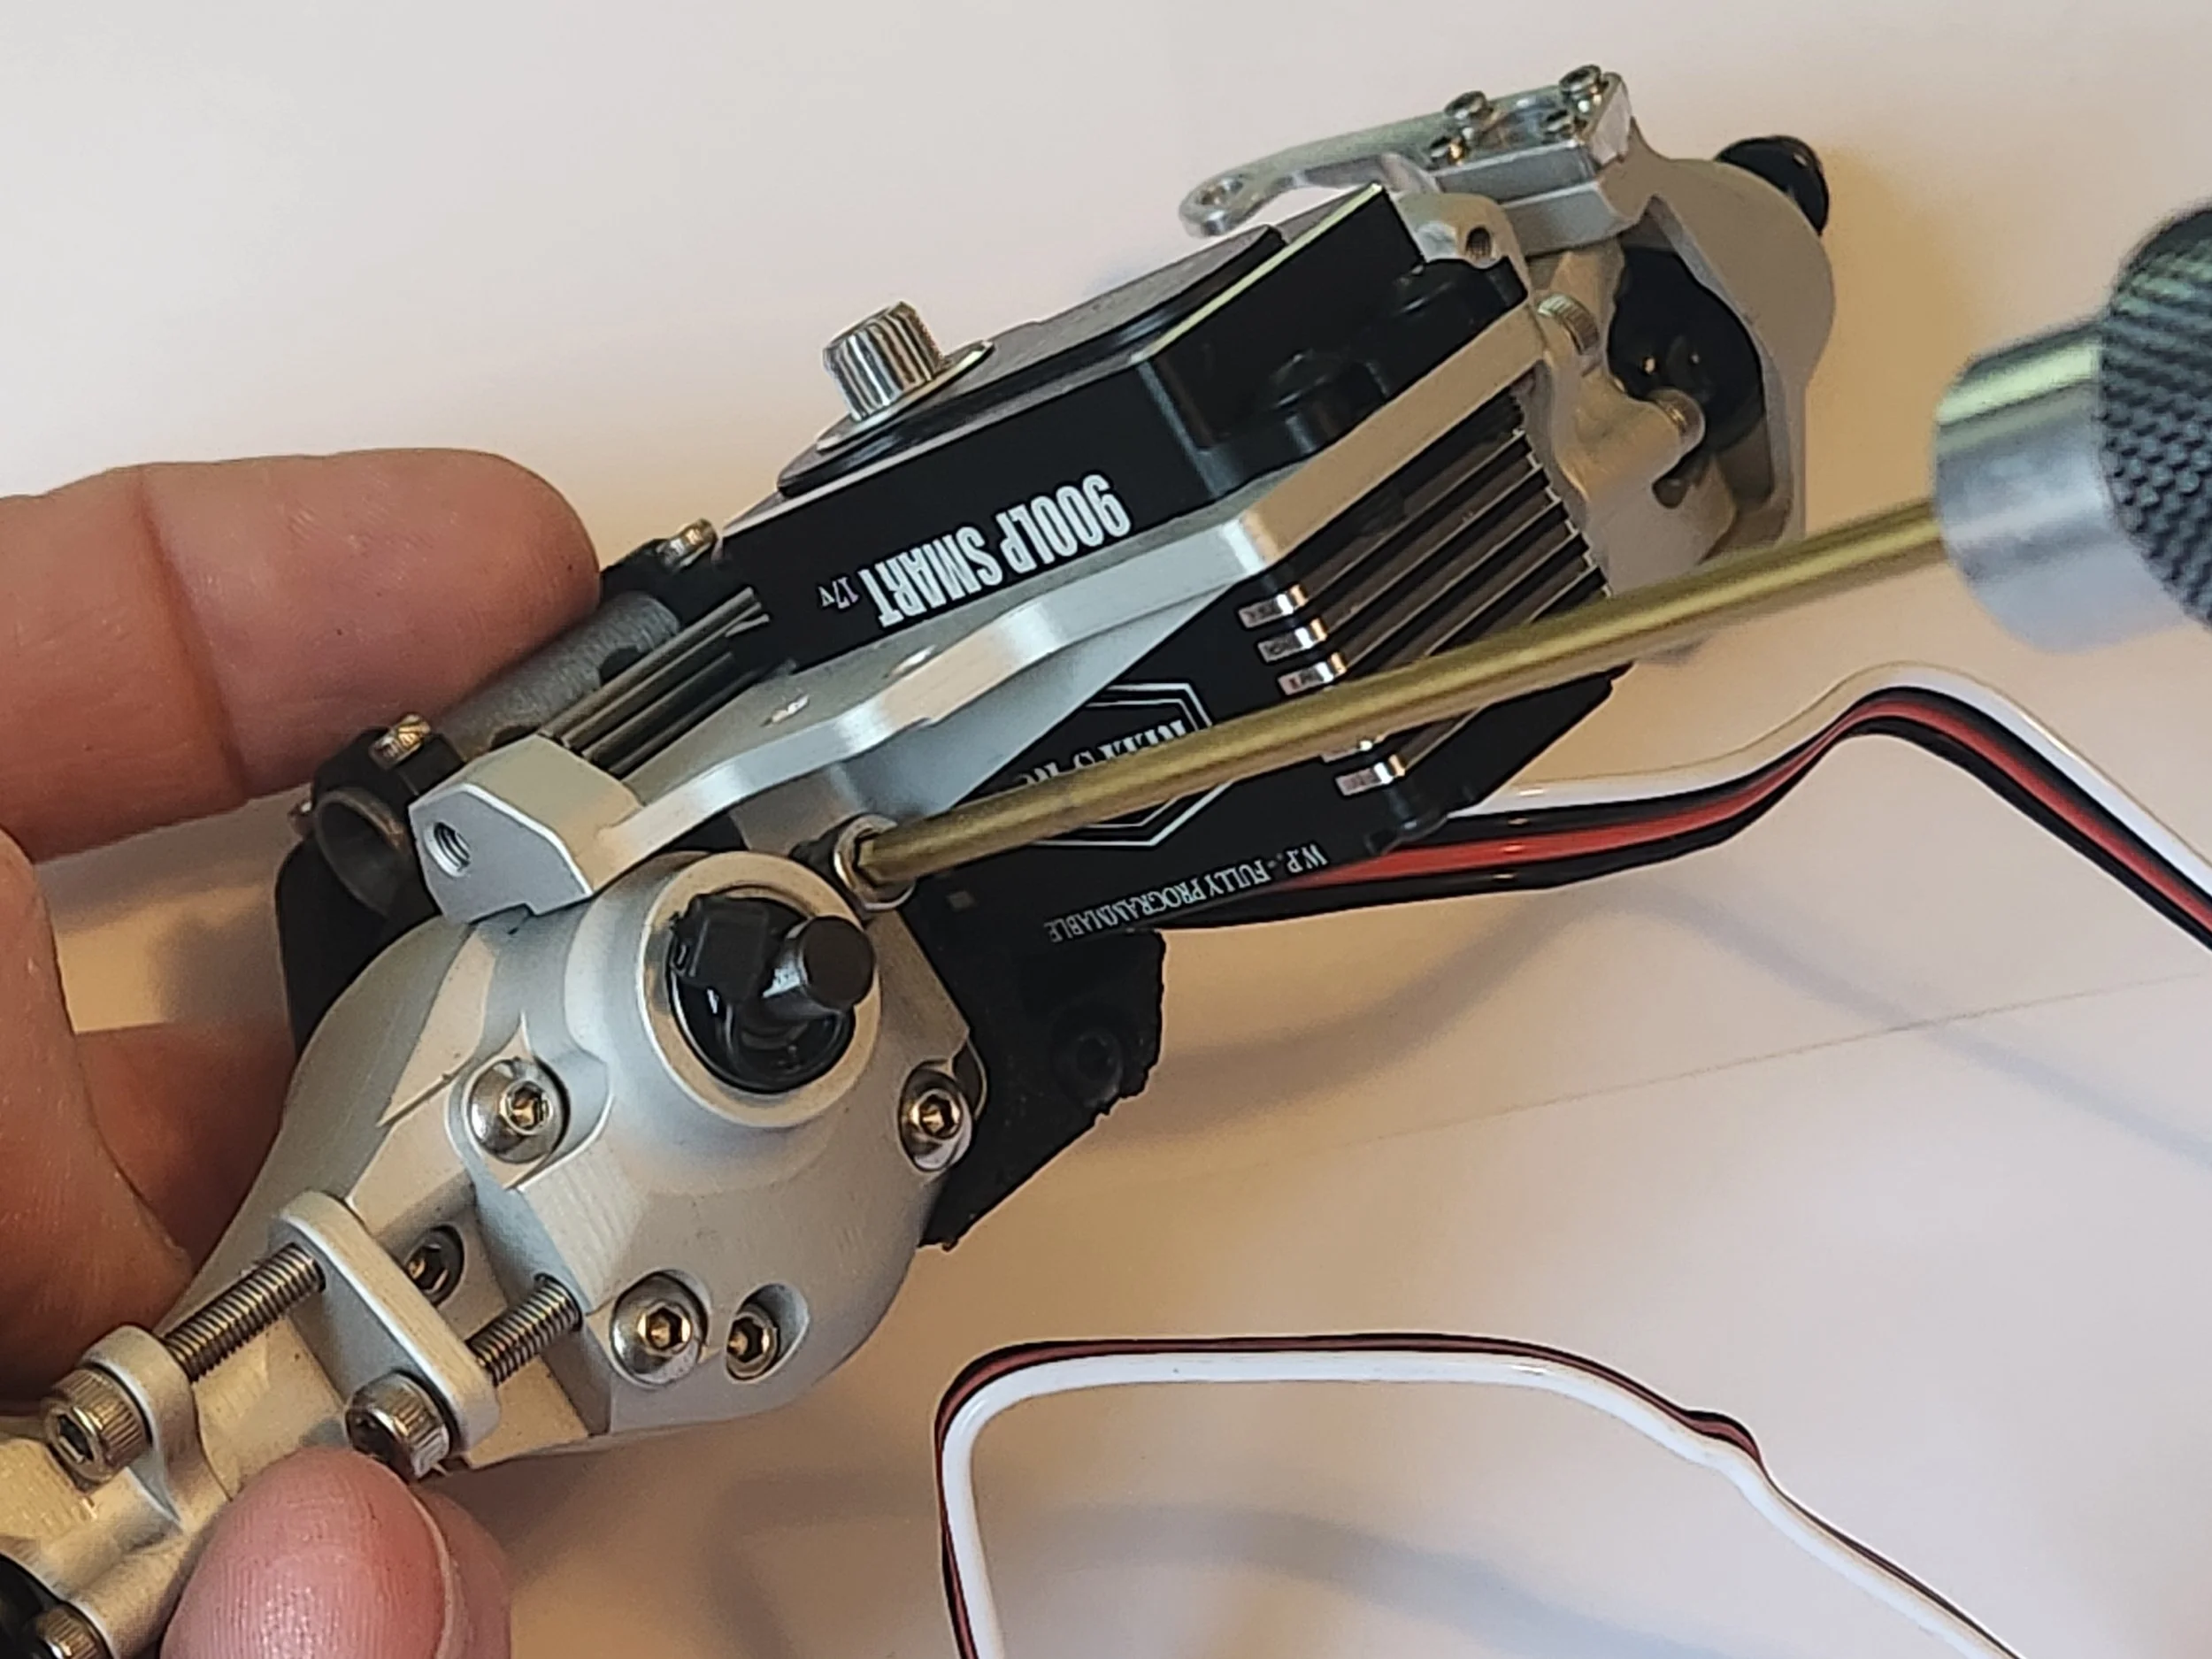
4-   Start the bolt into the 3rd member. start the bolt into the BTA

Close-up view of a robotic or mechanical device with a black component labeled '90QUP SMART 14V', metal parts, wires, and a brass rod, against a white background.
Small electronic speed controller with fins, mounted on a black and silver structure, connected with wires.
Close-up of a person working on a small robotic or mechanical device with a servo motor labeled '900LP 12V SMART' and a stepper motor, with metal brackets and screws holding components in place.
Close-up of a small mechanical device with metal fins, a logo with the words 'HOMEBREW HORNBIES,' and an attached silver component with screws and wires.

5-   tighten BTA mounts

5-   Tighten servo mount into the rear plate

Close-up of a hobby electric motor labeled 'SOLD P4 SMART 17V', mounted on a metal frame with screws, connected to wires.

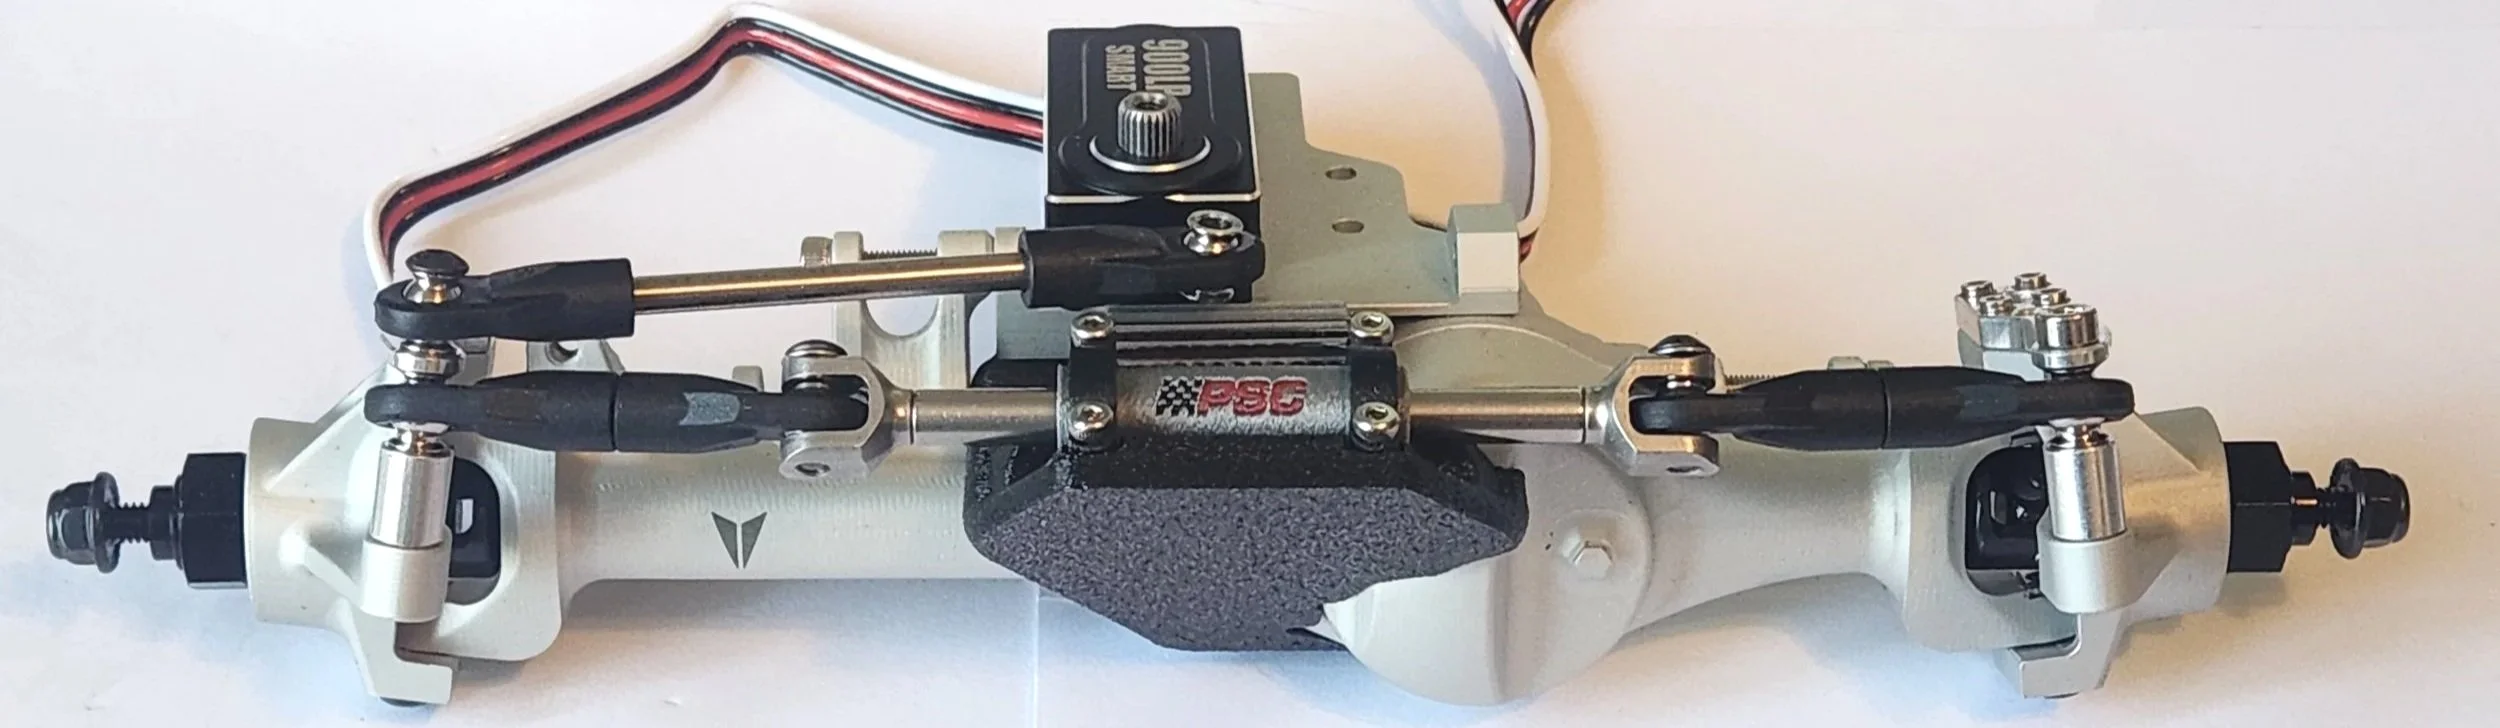
5-     To assemble the short steering links, take 4 standard Incision end links, insert the supplied pillow balls from the Steering Kit. I took a M4x20mm stud to join the 2 sets of rod ends, Slide the ram through the printed cylinder, bolt on yokes supplied in the Incision kit and install the short linkages. This setup is a high steer, and is mounted on the top position of the knuckle. place a spacer where (lower position) the old linkage would have gone. I would use a M3X30mm for the servo linkage side.Make sure the bolts that hold the linkage through the ram are facing up to clear the skid plate. The H10 links in the Incision kit do not work, they are too long.

Full Assembly with Steering Ram kit:

Disassembled part of a robot or machinery with metal and plastic components, screws, and a small motor attached to a black mounting plate.
Two black metal connectors with screws and two longer screws on a white surface.
A detailed close-up of a mechanical steering rack for a remote-controlled car, with various metal components, rods, and connectors visible.

5 option-     Dlux knuckles also work. the installation is the same. the only consideration needed is the inside of the knuckle could use a SHCS as a stop to prevent the tire from dog legging when turning.

An RC car chassis with suspension, shocks, and wheels, viewed from the top.
A person wearing a black glove holds a small mechanical device with a white and black plastic structural component, connected to a rusted metal disc and a black plastic arm with screws and bolts.